Visible Mending 101: Patching
Learn how to revive a damaged garment with a patch of plaid, stripes, color or pattern in the second installment of our visible mending series.
Picture the piece of clothing that you wear the most. Chances are, it’s got some wear and tear, a tangible record of many moments of your life. Buying clothes meant to last and keeping them for longer isn’t just an environmentally friendly way to live—it also gives your wardrobe character in a way that a constant influx of fast fashion just can’t.
Even damage that has gone from barely noticeable to distracting doesn’t have to spell doom for your signature piece. Patching is one of the simplest ways to transform a negative into a colorful positive, especially if you embrace a visible mending approach that doesn’t require matching fabric or precision stitching. A sewed-on patch is also a great alternative to those plasticky, iron-on versions.
Strategically placed patches meant to extend the life of a worn or torn piece of clothing have a long tradition in every culture—a necessity when you can’t just run to the store for a replacement. The Japanese Edo period saw the rise of boro, which combines fabric patches with decorative stitching, and repaired clothing dating back to the 17th century has been found preserved in Scottish bogs, though many early Western mends were meant to be invisible.
In much more recent history, there’s been an explosion of contrasting, colorful patching—for further inspiration, look to the vibrant creativity of NYC-based repair shop Eva Joan and artist Lily Fulop, author of Wear, Repair, Repurpose: A Maker’s Guide to Mending and Upcycling Clothes.

Lesson 2: Patching
You can find our first visible mending tutorial here. For our second installment, Rosibel Chavez, Senior EILEEN FISHER Sample Maker & Patternmaker, shows off how she patches lightly damaged, secondhand clothing for our Renew Visible Mending Collection, and customer pieces sent in through our EILEEN FISHER repair program.
Watch the video above and follow the more detailed directions below—don’t be surprised if it inspires you to dig through your closet for more patching projects.
The Steps
Step 1
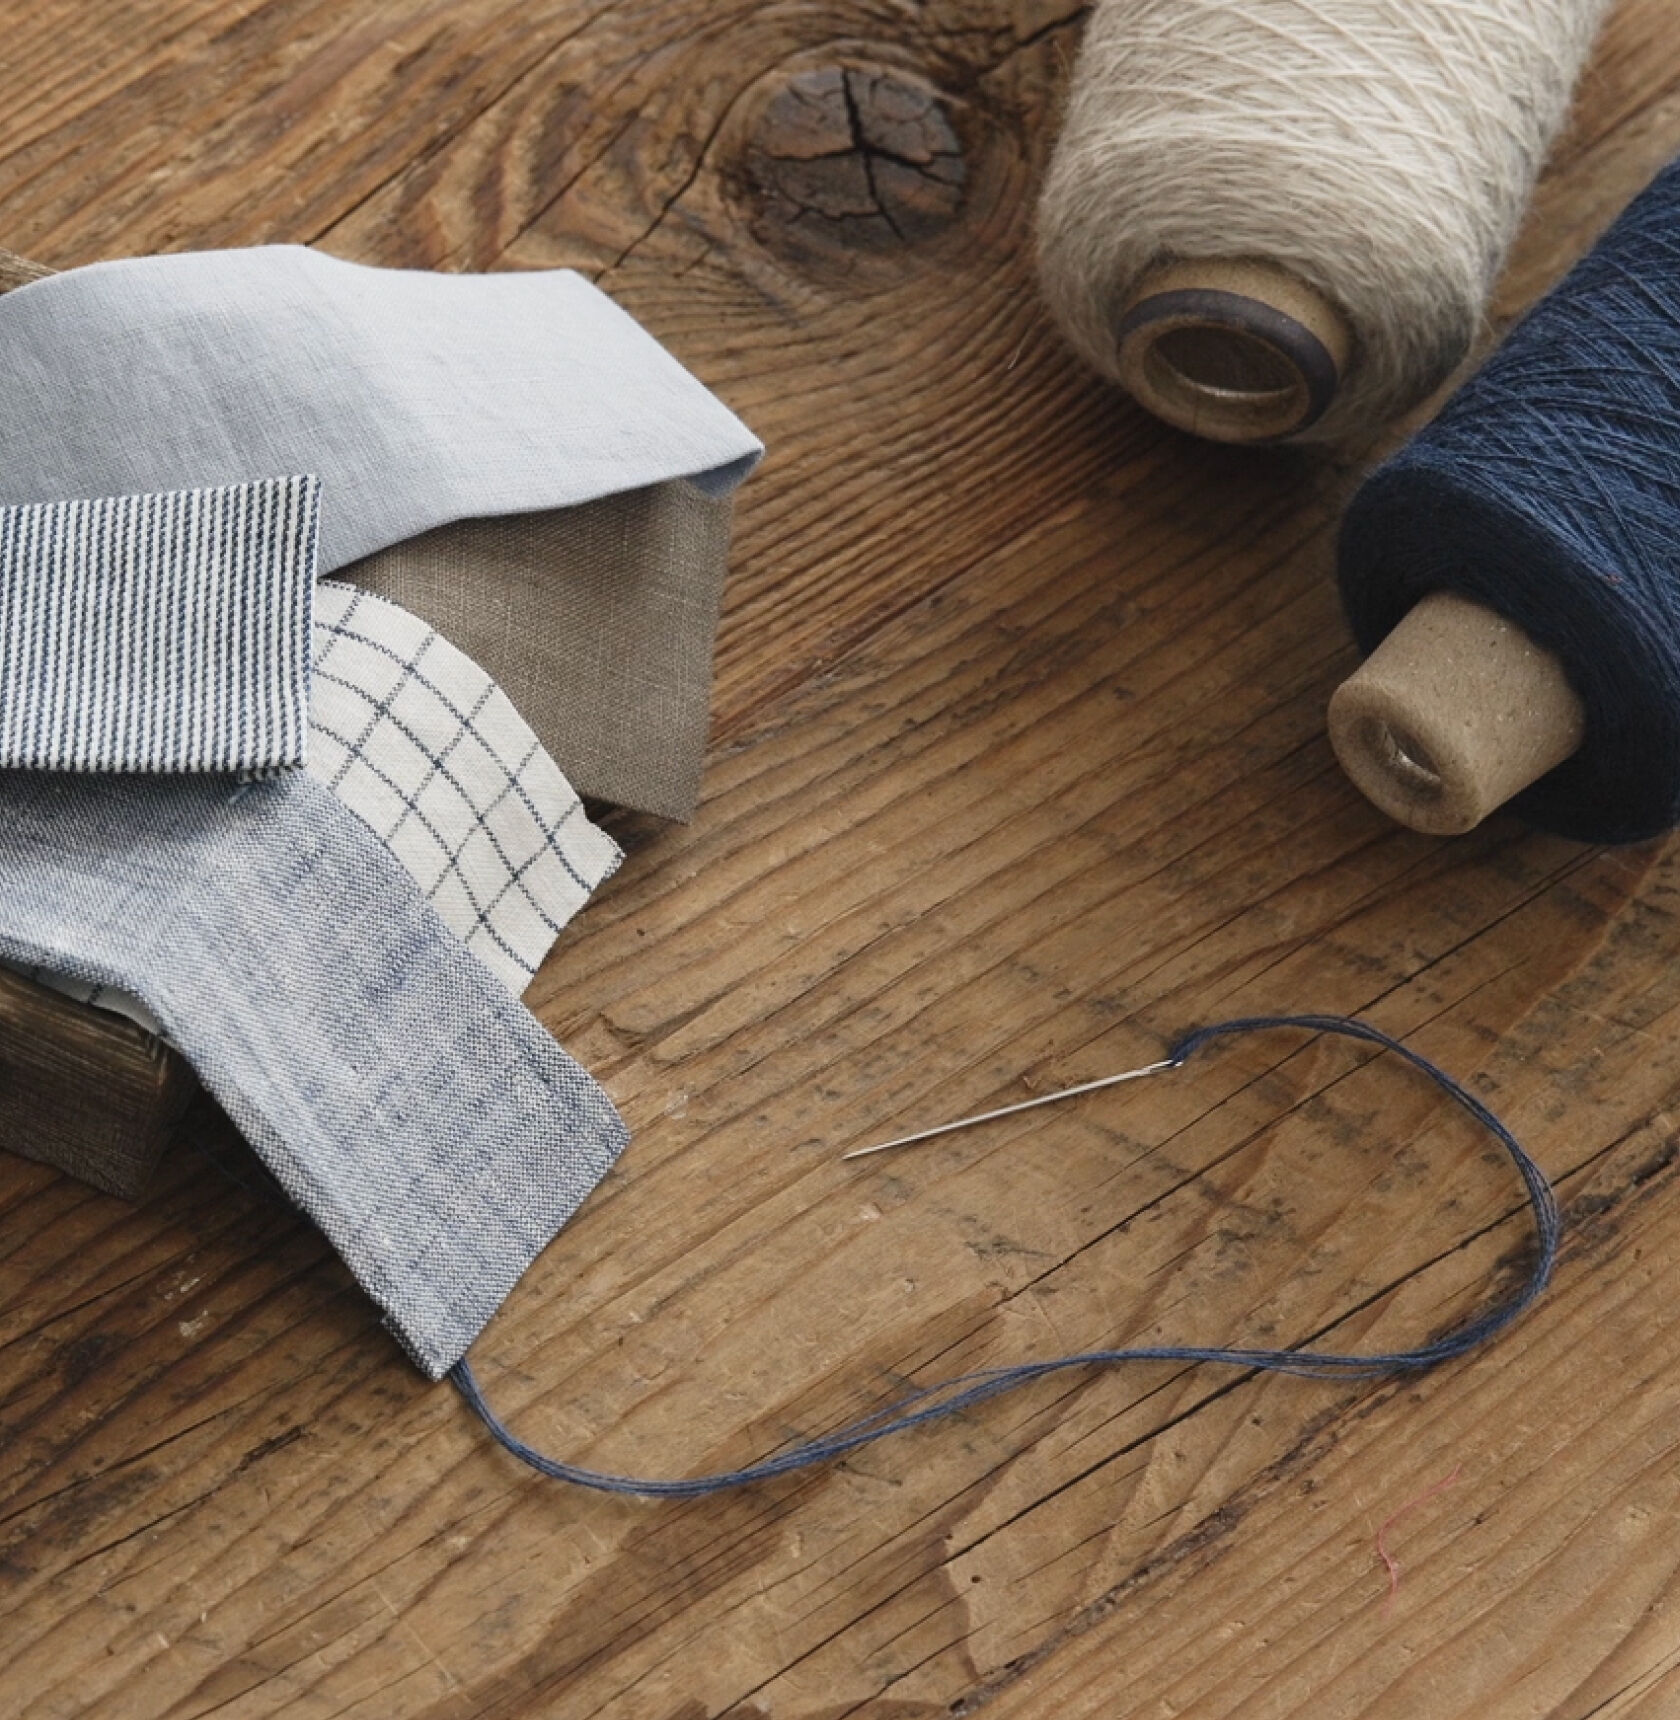
Gather Supplies
You will need embroidery thread, scissors, patching fabric, a standard sewing needle and pins.
Step 2
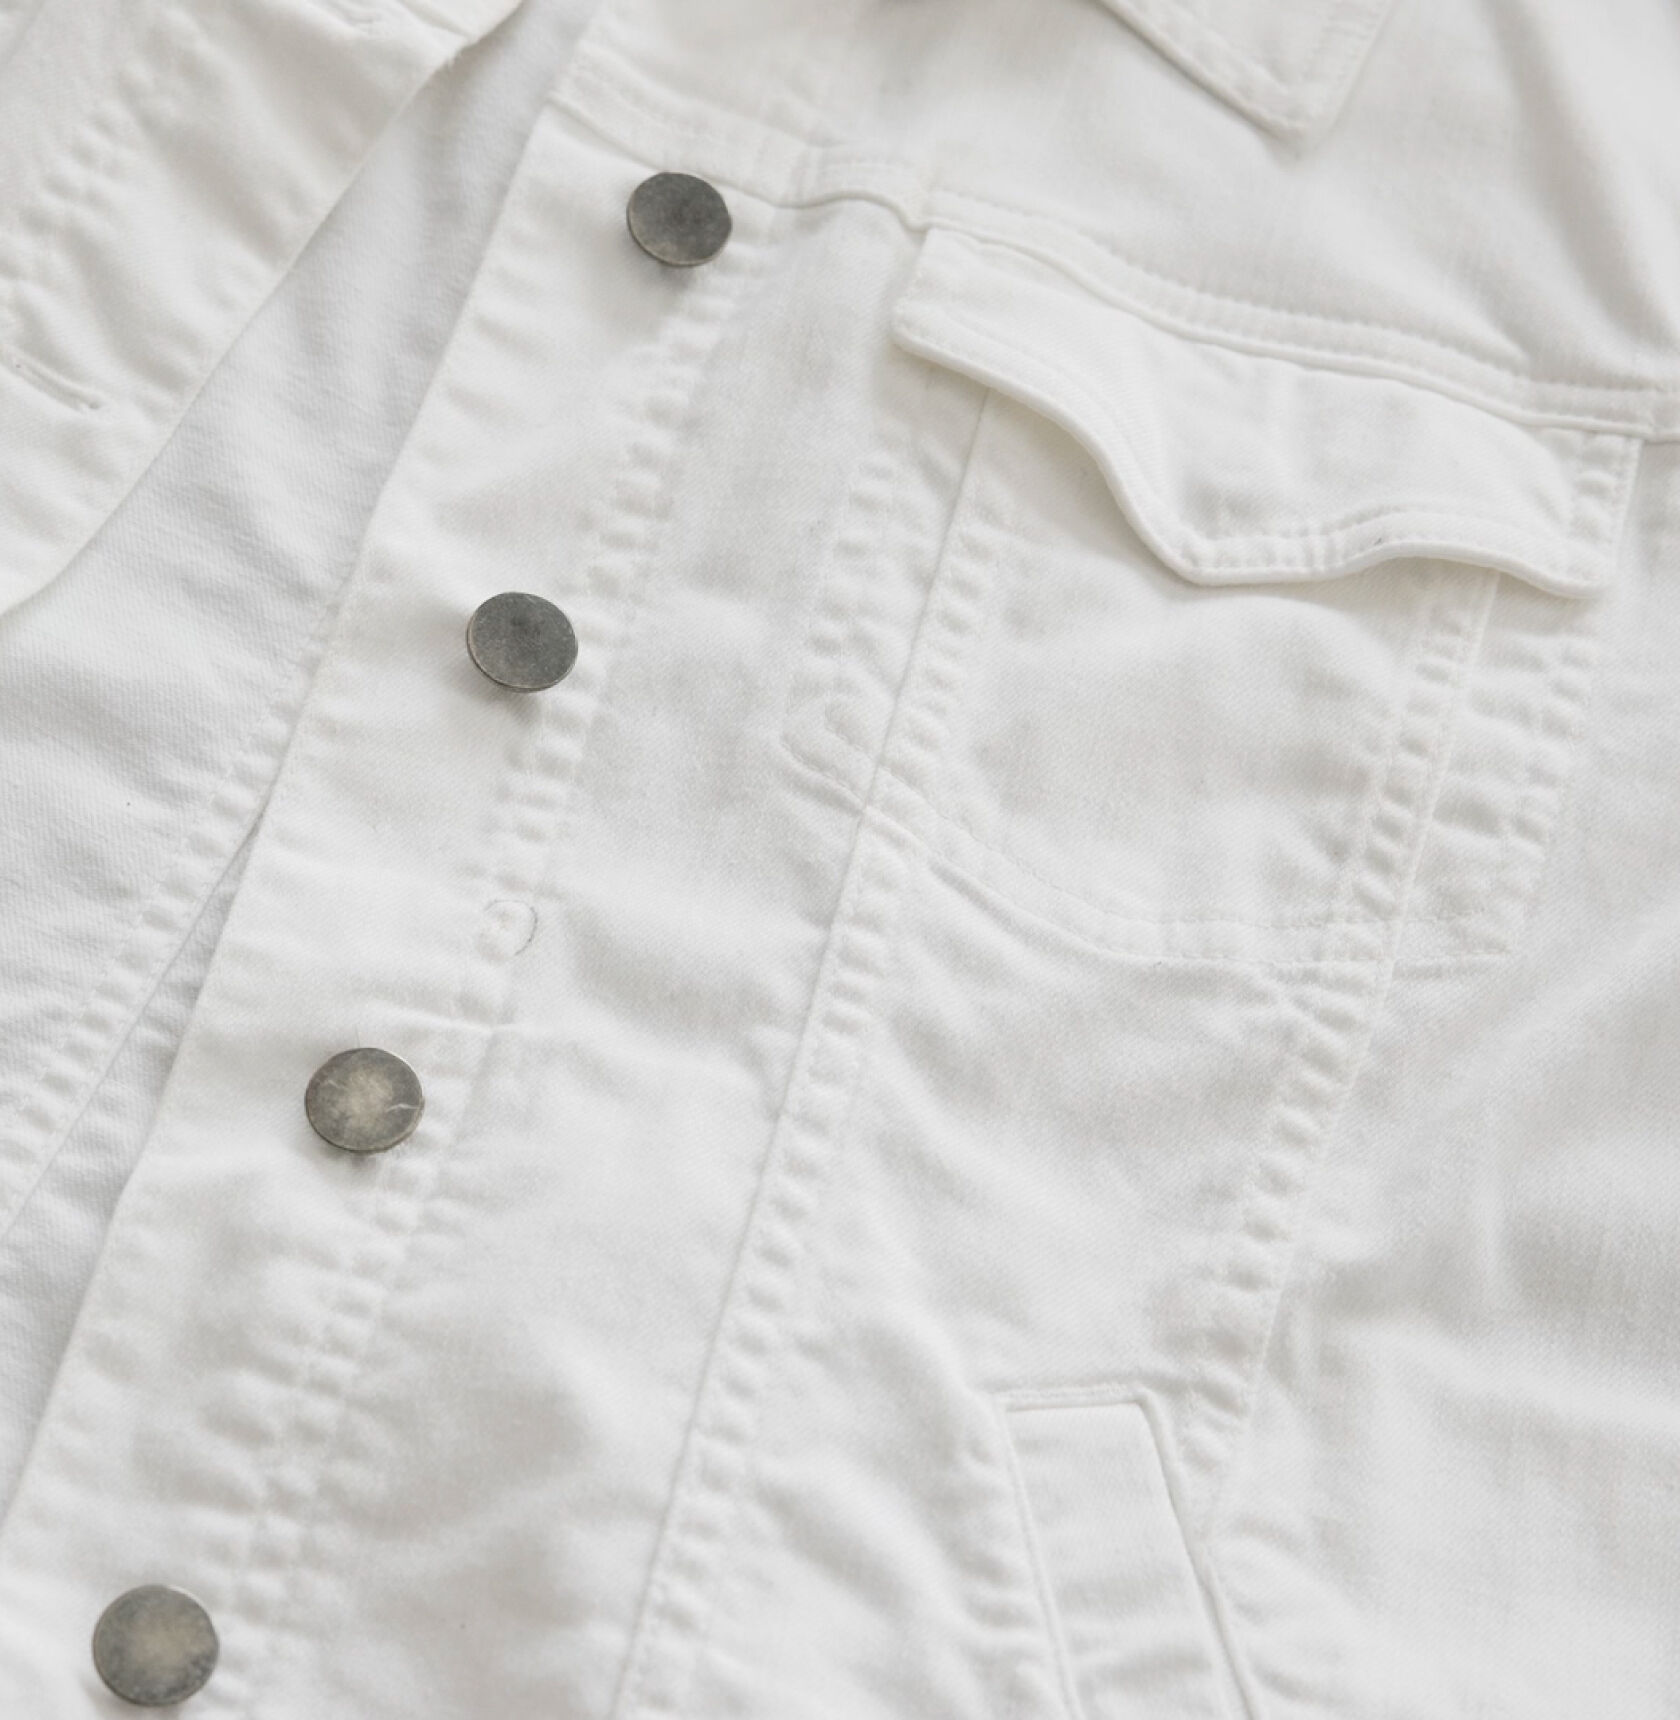
Choose an Item to Repair
This technique works best on small rips or tears. Since the flaw will be covered with a patch, you can circle it with a pen to make it easier to see.
Step 3
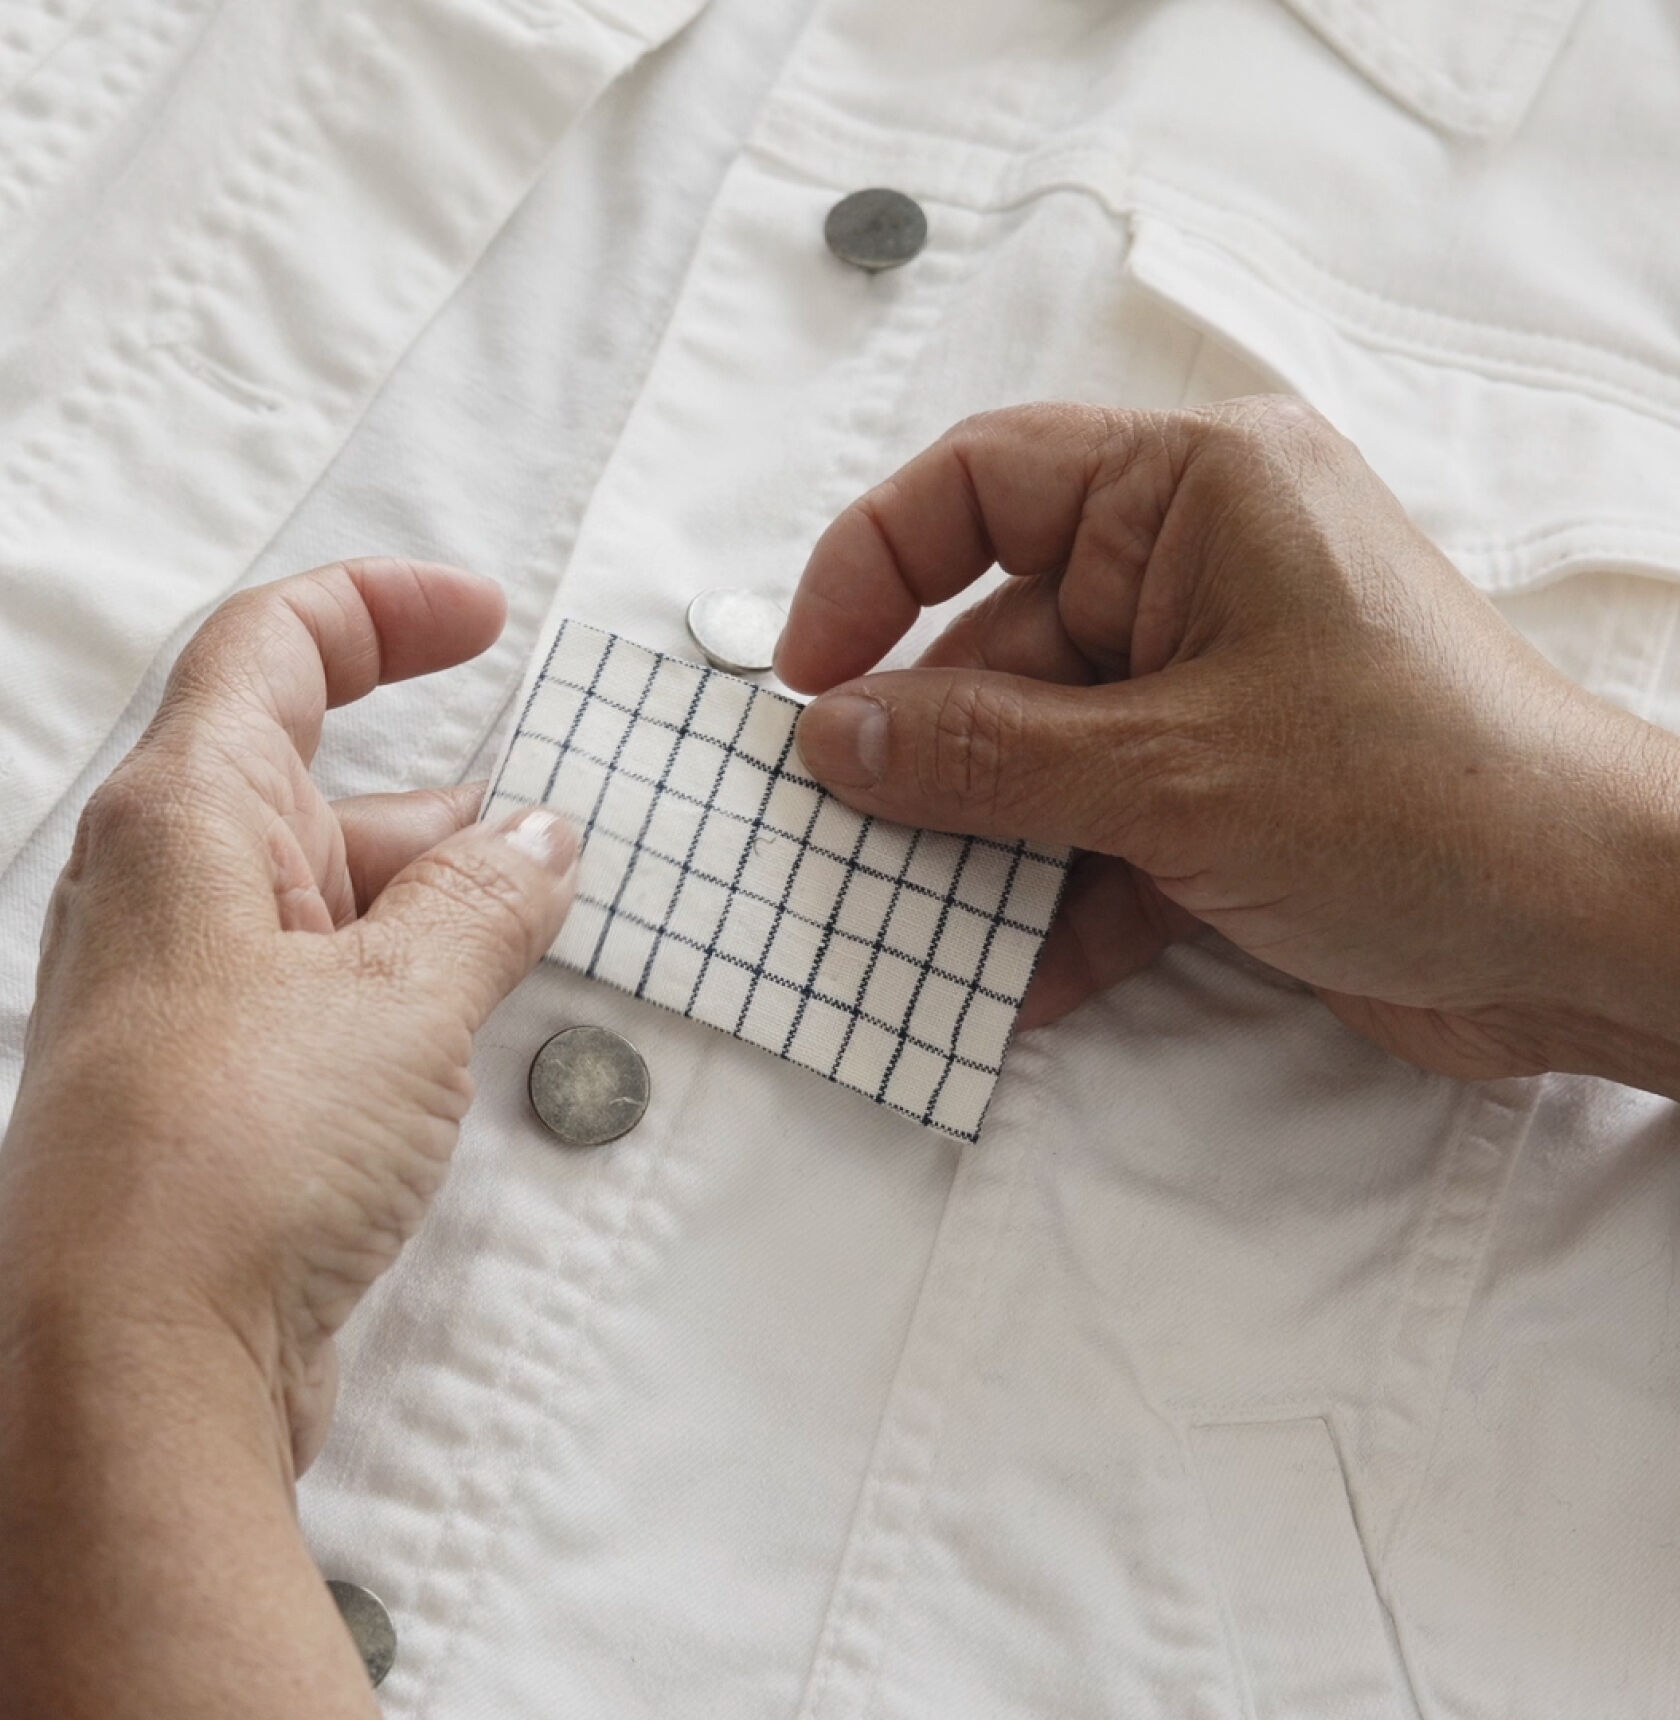
Select a Contrasting Fabric Patch
Choose a fabric pattern or color that will stand out against your garment. You can cut scraps in any shape or size, but for beginners, squares or rectangles are easiest. For a neater look, you can fold the raw edges of your patch under and iron them flat.
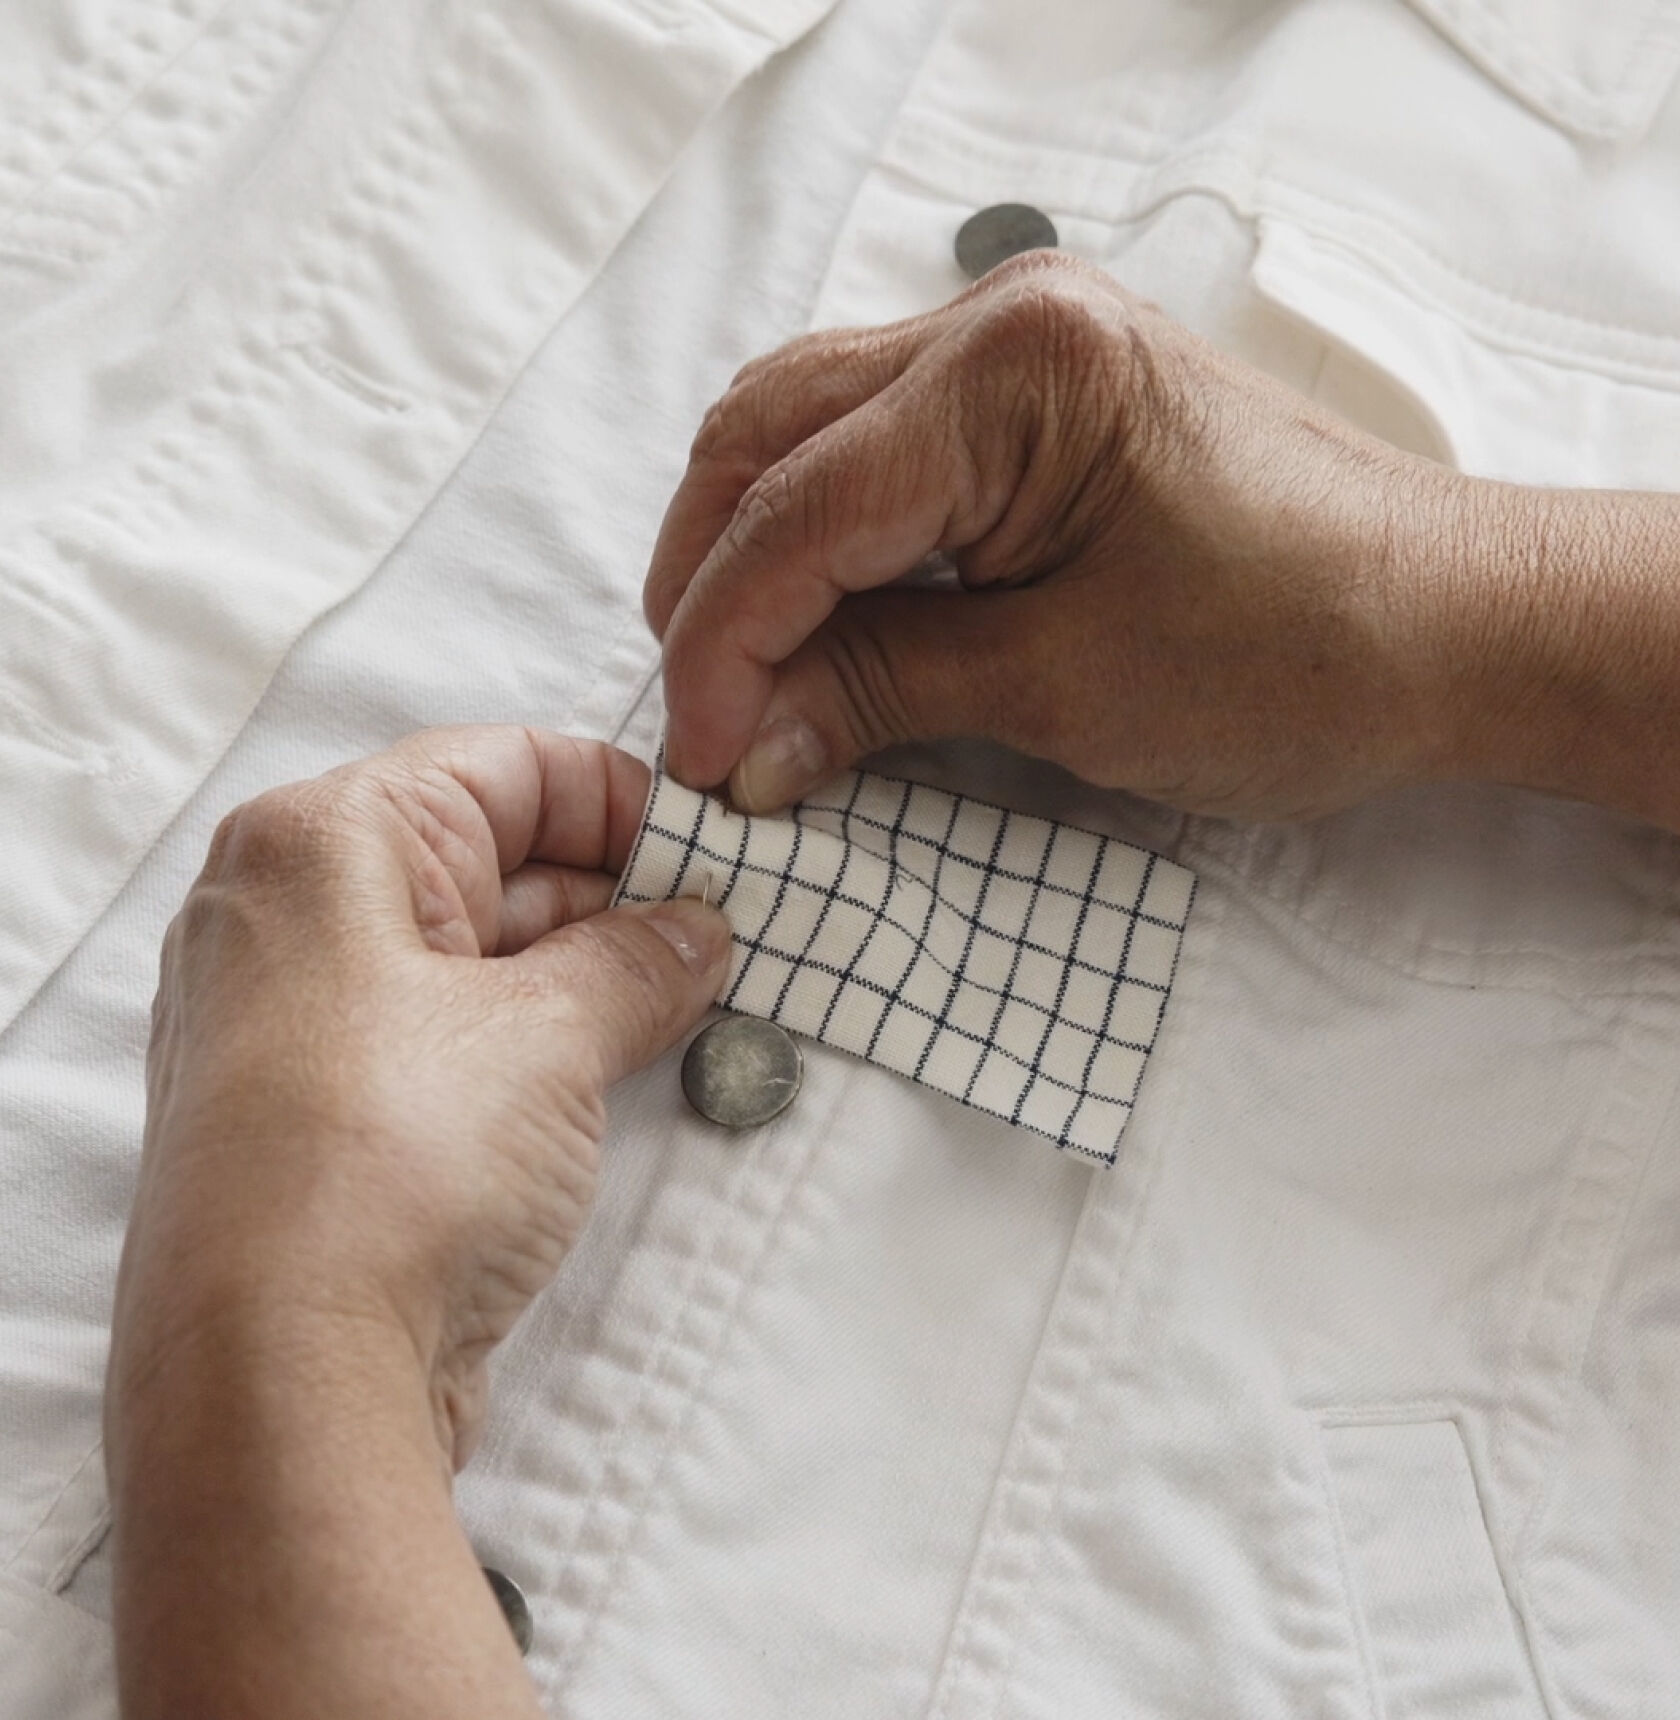
Step 4
Pin the Patch in Place
Use one or two pins to hold the fabric in the correct position while you sew. You can also pin the patch at different angles to see what looks best before committing to a final placement.
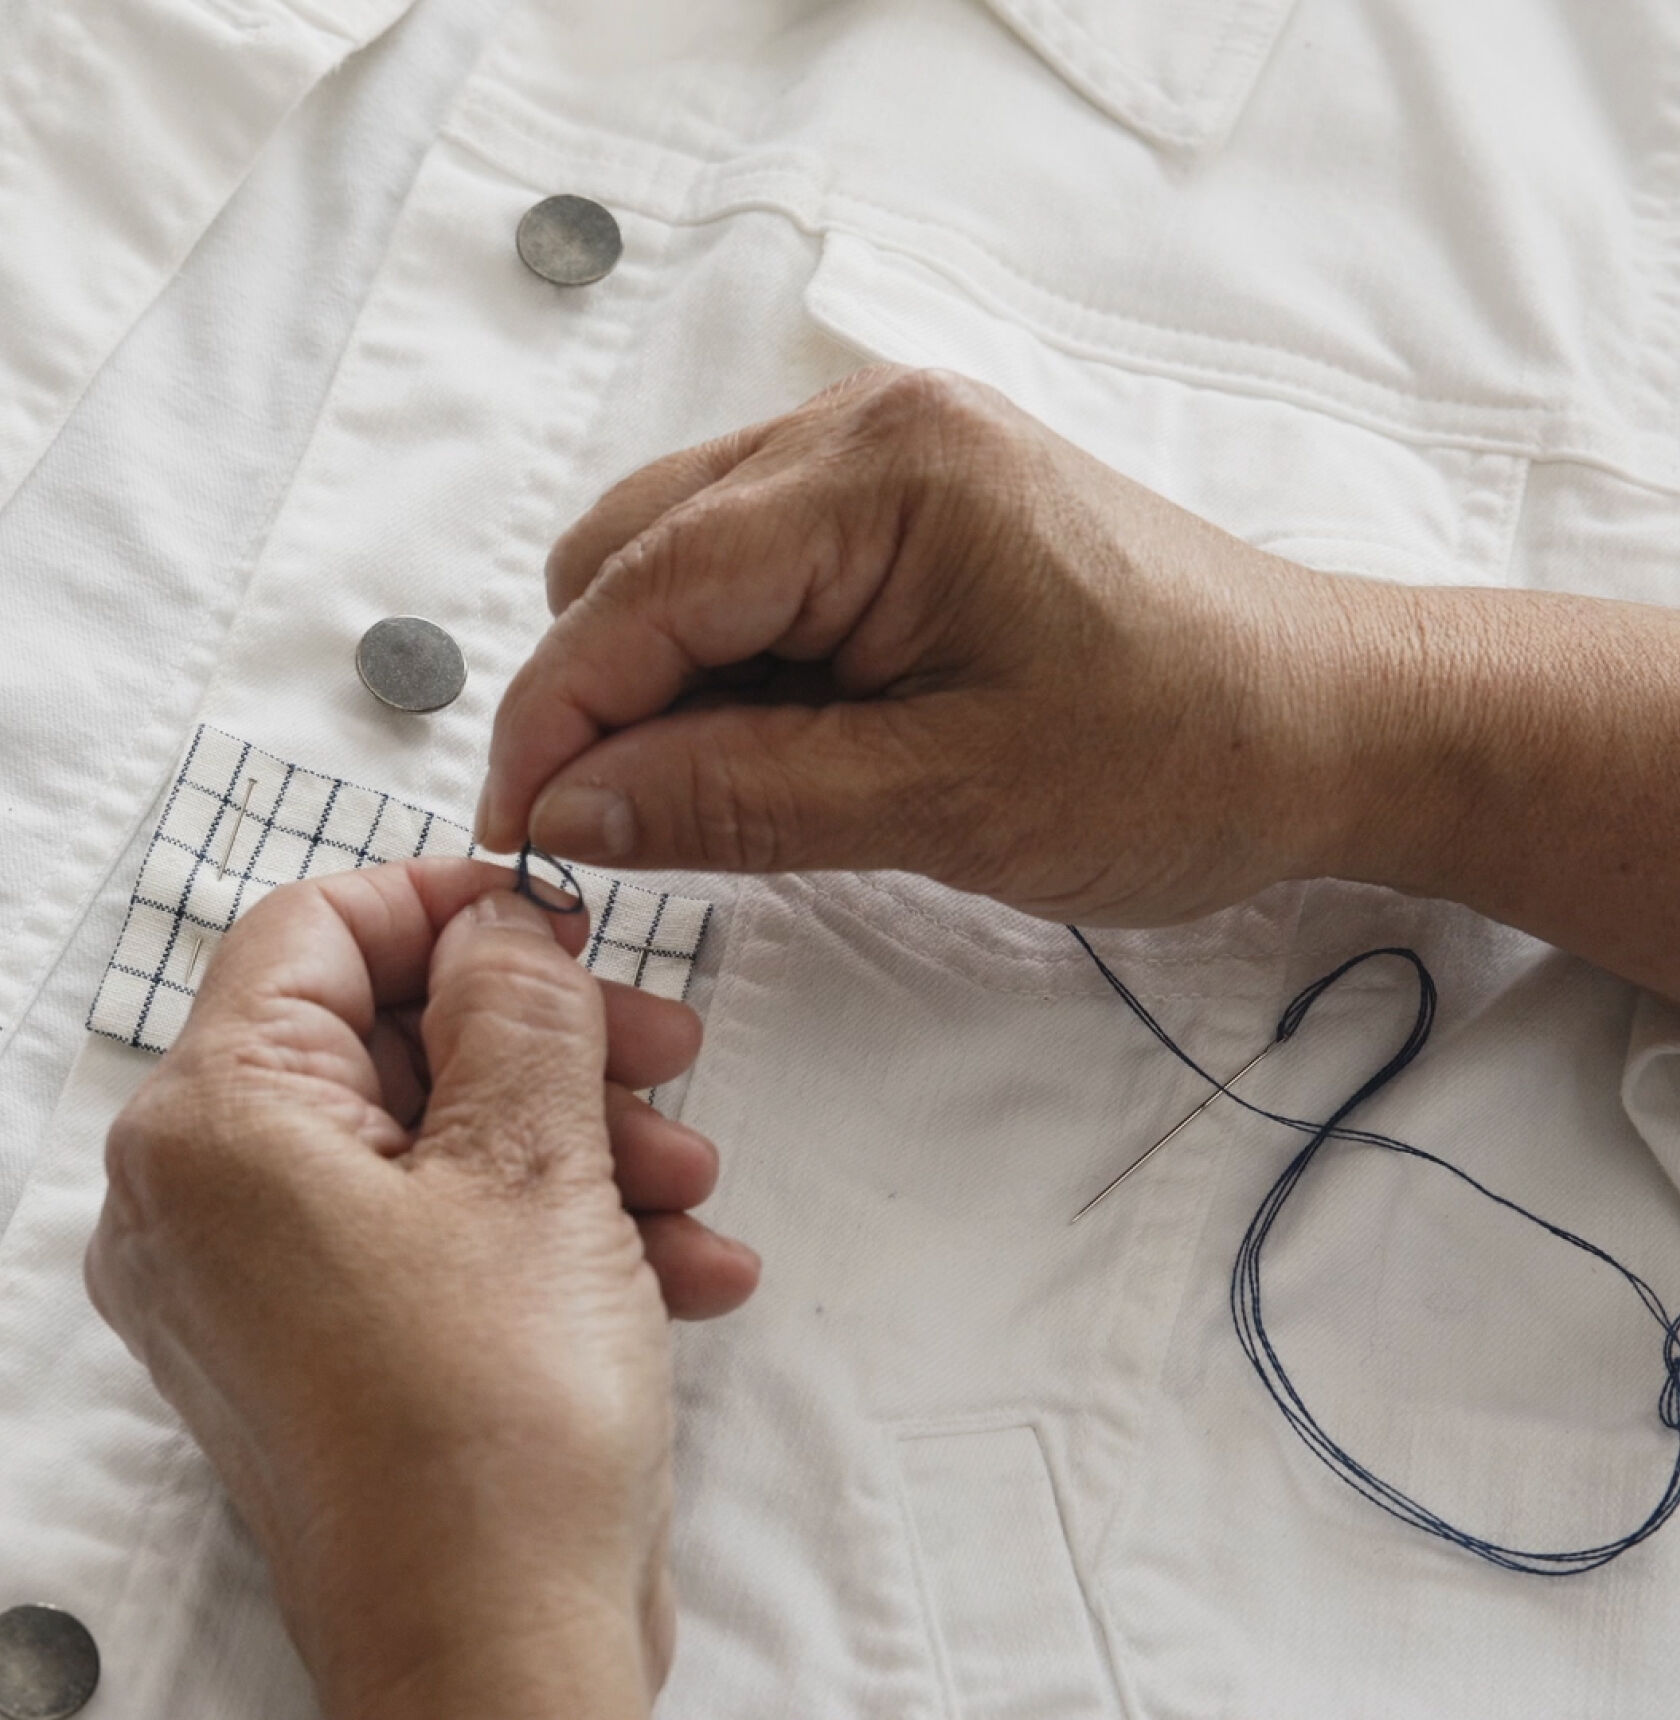
Step 5
Thread the Needle
Pull a double length of thread through the needle, tying the two ends together into a small knot.
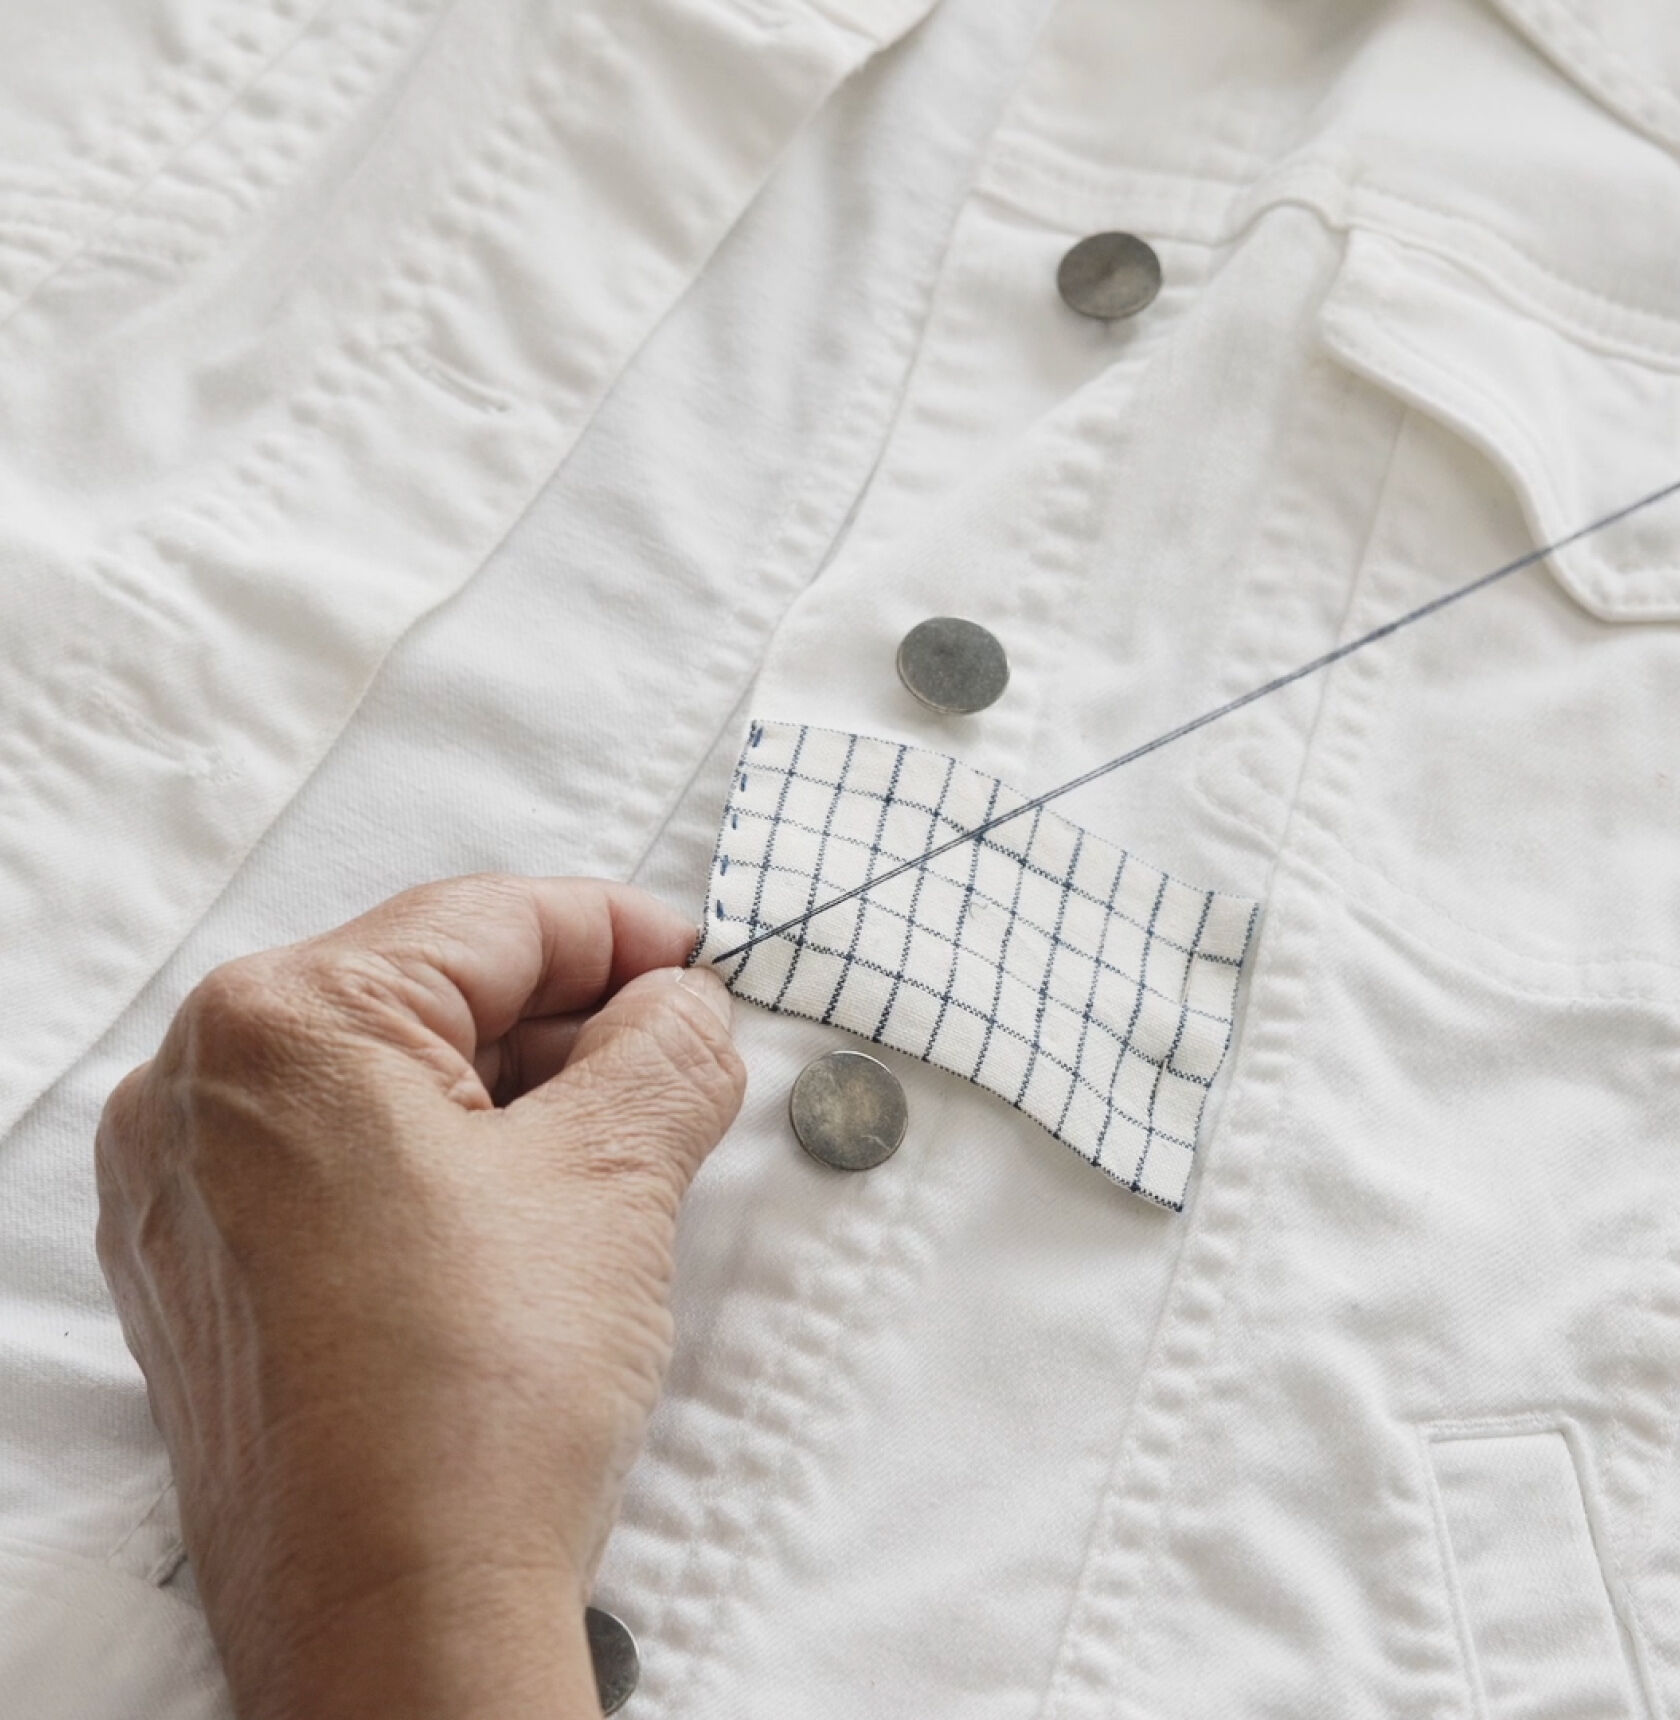
Step 6
Begin Stitching
Choose a corner and gently pull the thread through from the underside of the garment. Sew one edge of the patch using a basic running stitch, taking care not to prick yourself on any pins.
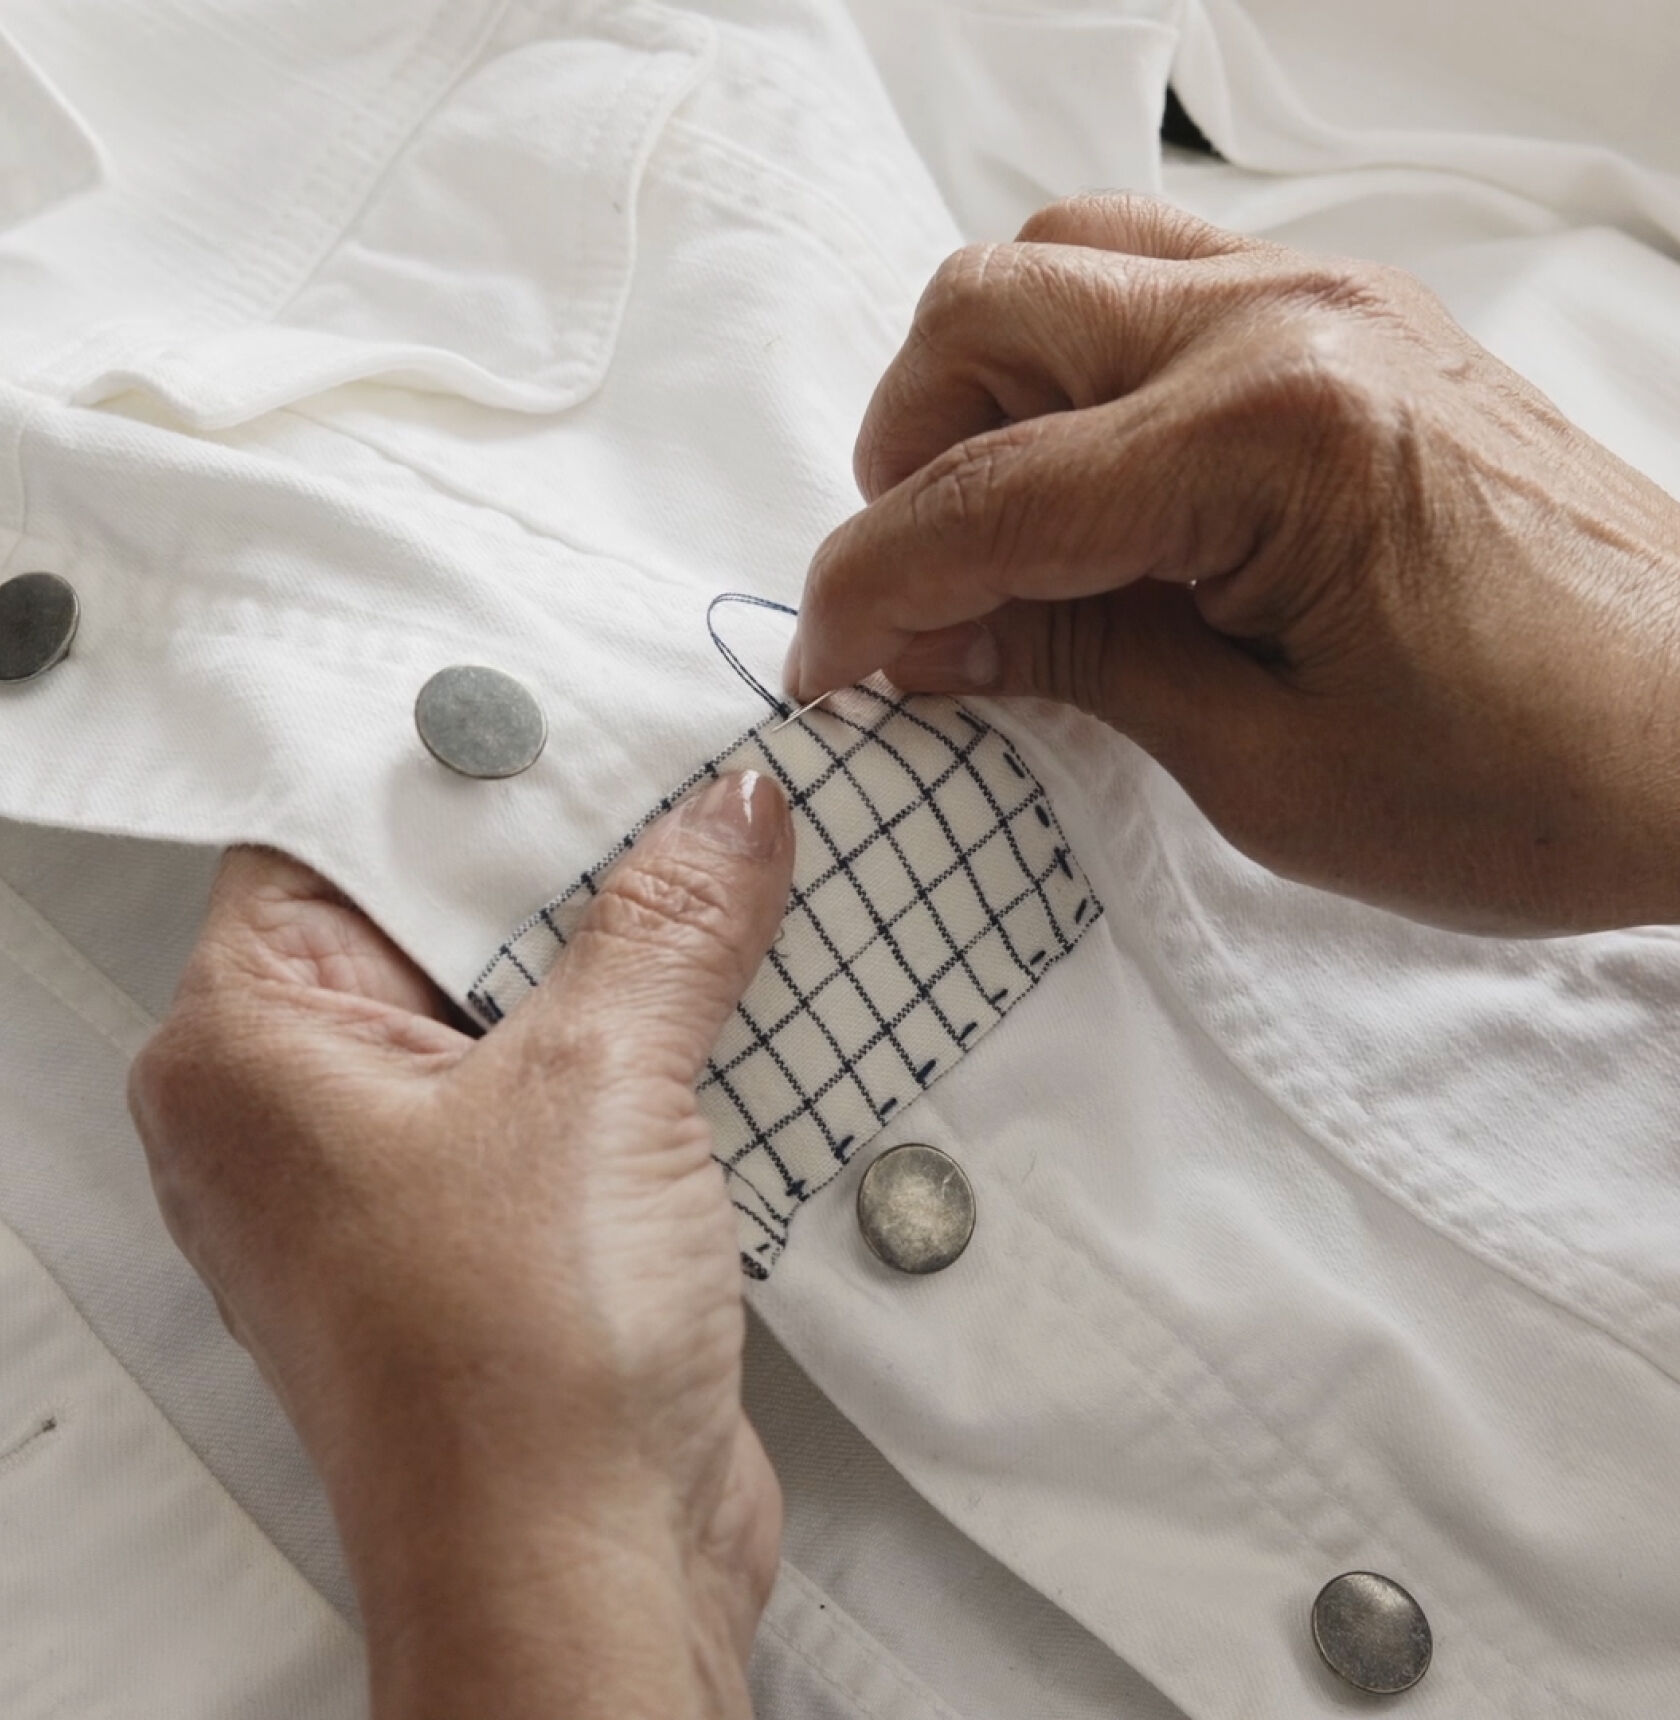
Step 7
Finish Sewing
Sew the other three edges of the patch, turning the garment as you finish each edge to make it easier. You can remove the pins once they’re no longer needed.

Step 8
Tie Off
Backstitch twice and secure the thread with a small knot. Trim any excess thread.
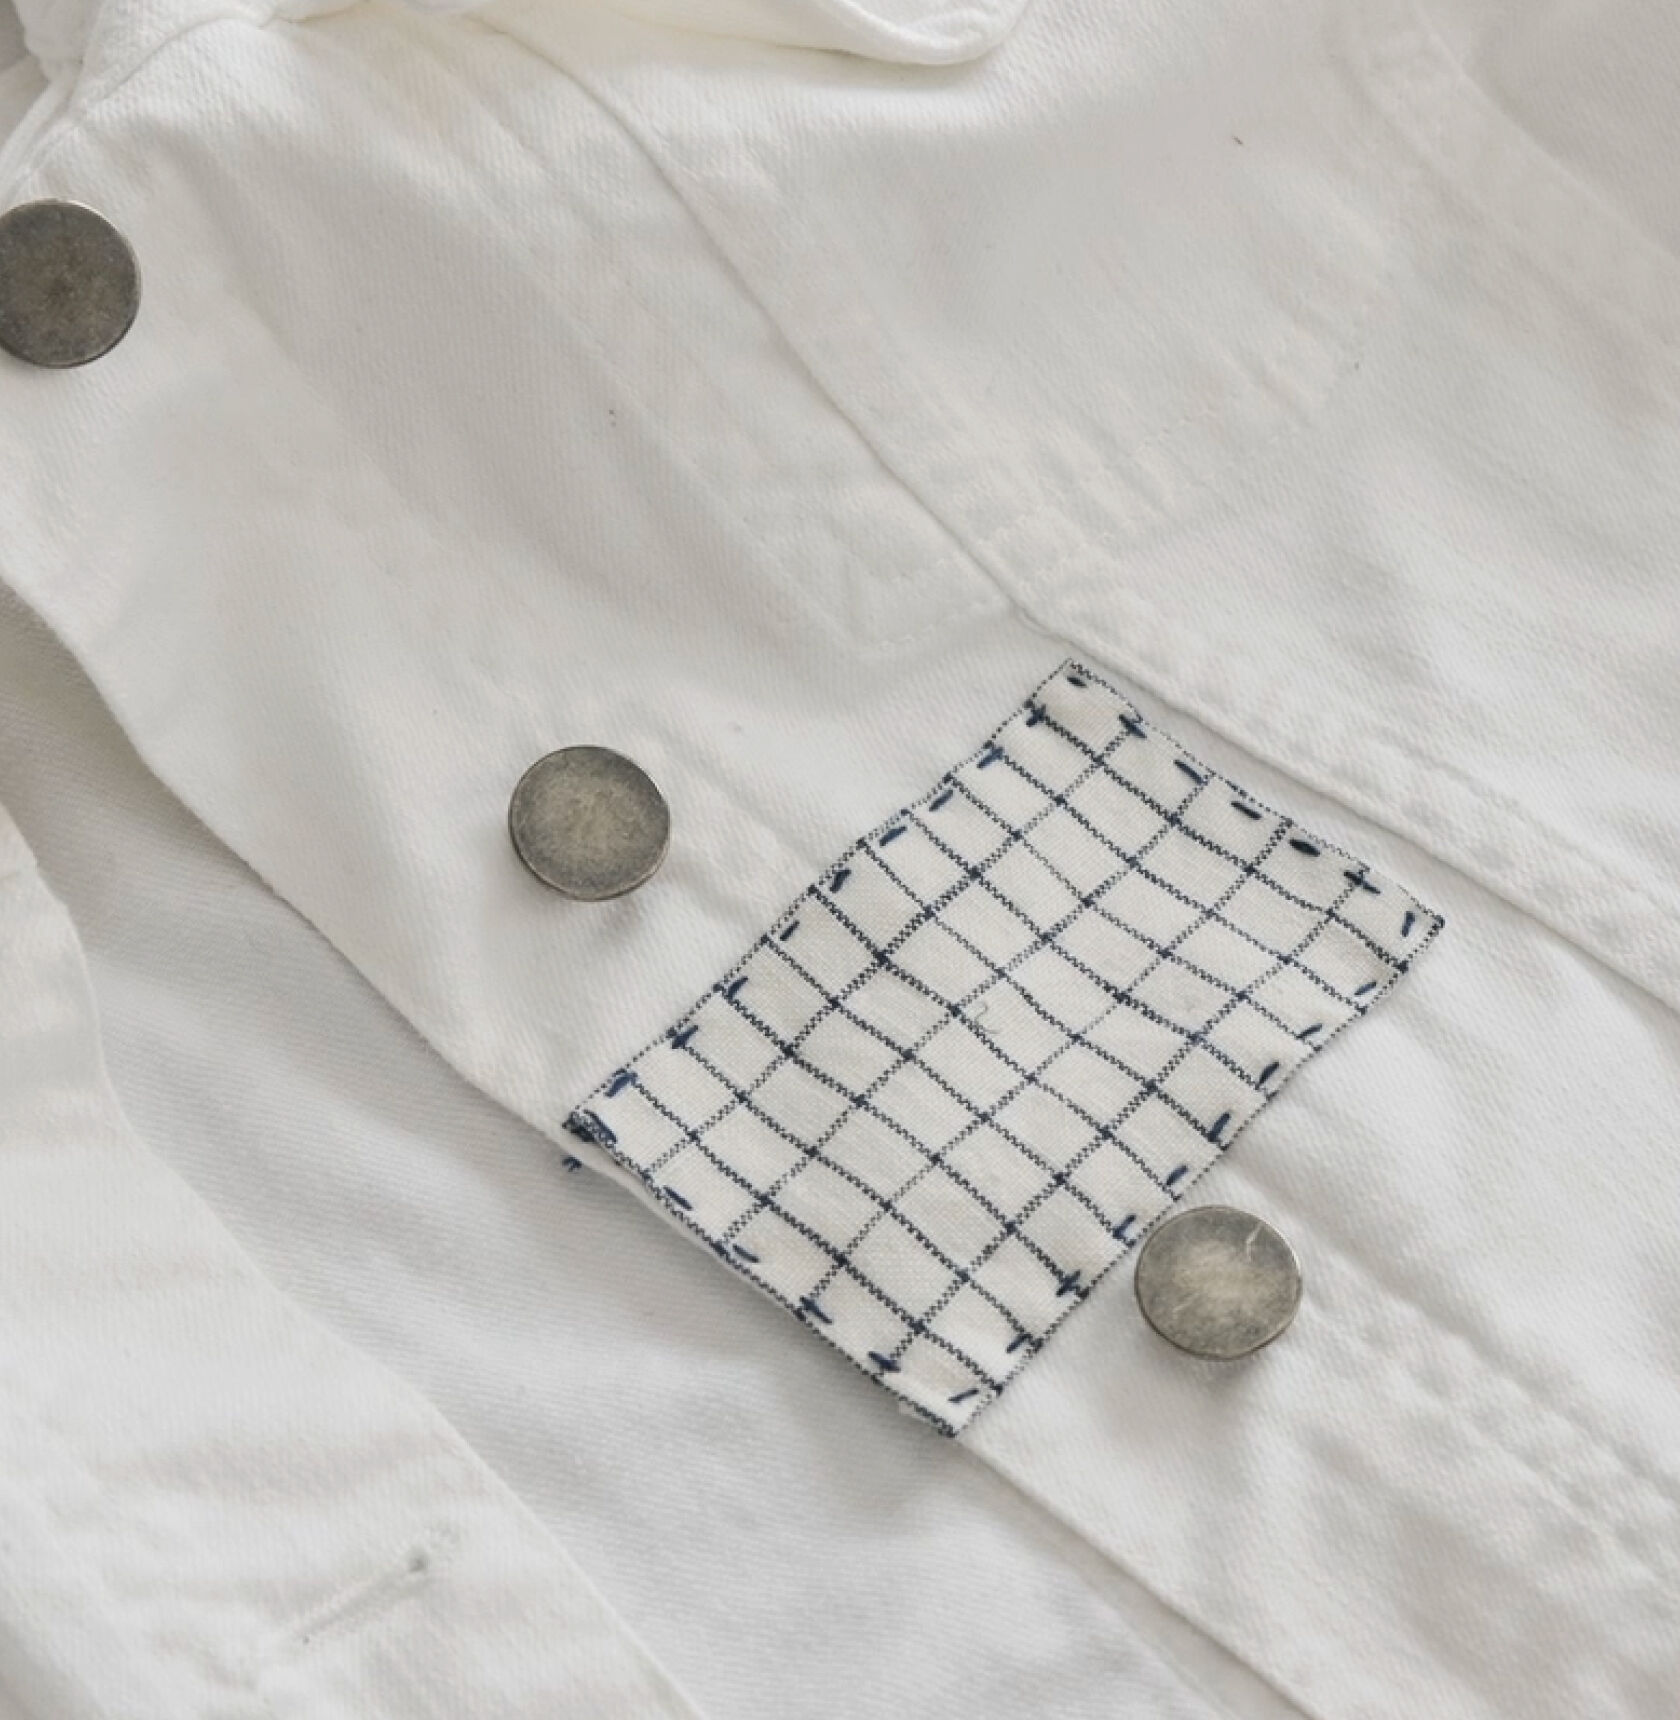
Step 9
Enjoy Your Newly Mended Piece
Appreciate your handiwork and wear it proudly for years to come.
