Visible Mending 101: Embroidery
Learn how to revive damaged knitwear in the third installment of our visible mending series.
How many beloved sweaters have you lost to moths, snags or other minor tragedies? A small hole shouldn’t spell doom for a quality wool item—especially since it’s one of the most enduring natural fibers we have.
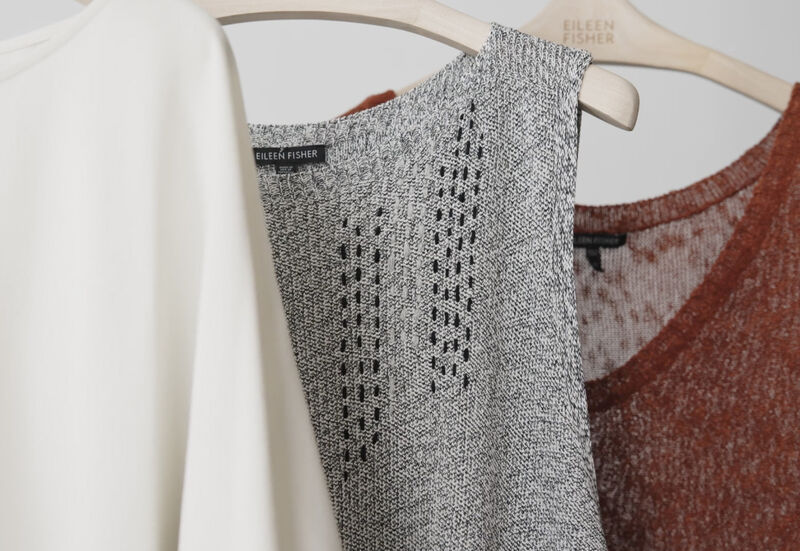
While anything can be embroidered, in this guide we’ll focus on knits. To start, it’s helpful to understand the distinction between a fabric that’s knitted and one that’s woven. Woven material is made from multiple strands that are interlaced tightly together. A single yarn is used to make knitwear, looped or braided into a pattern. It can be hard to tell the difference sometimes—often sweaters are so finely knit they might appear to be woven.
The particular structure of knitwear makes repairing it an interesting paradox. On one hand, the potential for unraveling can make it seem more complicated to tackle than something like denim. But that braided pattern can actually make it easier to integrate new threads for a visible mend that makes a statement. In a fun twist, the technique demonstrated below, a kind of hybrid of embroidery and darning, uses a crisscross weaving pattern to reinforce damaged knitwear.
This technique works best on holes that are around the size of a quarter. You can experiment with different yarns or threads for a more or less visible effect—and go on to enjoy your cozy, newly colorful knitwear for years to come.

Visible Mending 101: StitchingLesson 3: Embroidery
If the term “embroidery” sounds intimidating to you, don’t worry—this is very much a beginner tutorial. Other basic techniques can be found in our first visible mending tutorial here and the second here.
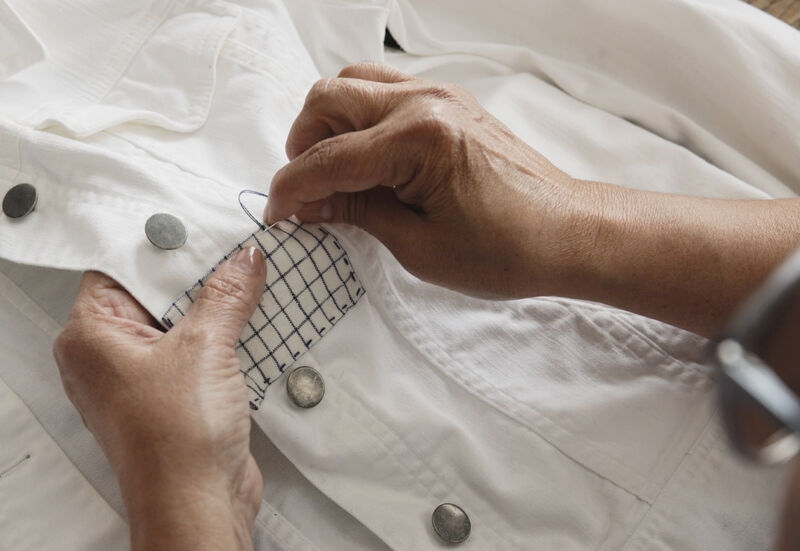
For our third installment, Sophia Min, Senior EILEEN FISHER Samplemaking Manager, visibly repairs damaged knitwear sent back to us through our EILEEN FISHER repair program.
Watch the video above and follow the more detailed directions below.
The Steps

Step 1
Gather Supplies
You will need a needle, embroidery thread or yarn, scissors and a fabric-safe tape like Dritz Sewing & Craft Tape to mark your repair area.

Step 2
Choose an Item to Repair
This technique works best on knits with small moth holes or tears.

Step 3
Thread the Needle
Pull your chosen yarn or thread through the needle so you have two even lengths. Tie the ends together with a small knot.

Step 4
Mark Your Repair Area
Cut four lengths of tape and use them to create a temporary square or rectangular border around the hole. This will determine how large and noticeable your repair is—the wider your border is around the hole, the larger your finished mend will be.

Step 5
Begin Stitching
Choose one of the bottom corners of your taped border and gently pull the thread through from the underside of the garment.

Step 6
Sew Vertically
Make long, uninterrupted stitches from the bottom of the repair area to the top, repeating until you have filled the entire area. This is the foundation of the lattice that will support your final design.

Step 7
Go Crosswise
Rotate your garment 180 degrees, so the long stitches you just completed are now horizontal.

Step 8
Finish Sewing
Starting at what is now a bottom corner, begin sewing across your existing stitches, weaving over one and under the next until you get to the opposite side. This process is exactly like a latticed pie crust. Once one row is finished, use the same technique to make your way back across the square.

Step 9
Finish Up
Continue this way until you have filled the entire shape.

Step 10
Tie Off
Backstitch to secure the thread underneath the design with a small knot. Cut any excess thread and remove the fabric tape.

Step 11
Smooth It Out
Gently tug the finished design slightly, which will help the lattice stitches even out and lock into place. Enjoy your handiwork and the compliments from strangers for years to come.